SCX24 Servo Upgrade: Which One to Get and How to Install It
The stock SCX24 servo is the first thing that will let you down on technical terrain. Here's what to replace it with and how to do the swap.
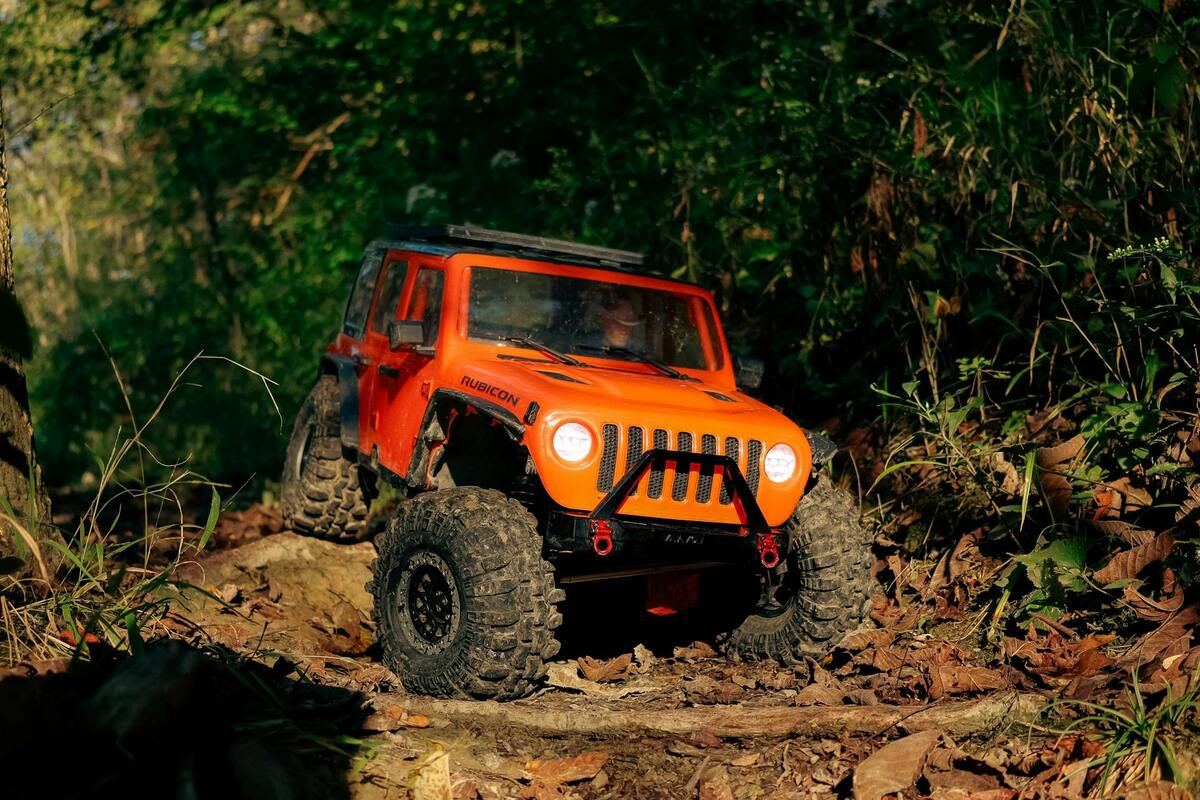
The stock SCX24 servo is fine when the rig is new and you’re running it on flat ground. Once you start adding brass weight, running rougher terrain, or doing anything that puts real load on the steering, you notice it. The wheels hold line less confidently. The servo feels sloppy when a rock pushes against the front tires. On a steep off-camber section, the steering sometimes walks under load instead of holding where you pointed it.
That’s the servo running out of torque. The fix is a drop-in upgrade that takes about 15 minutes and runs under $25. It’s the second or third upgrade I recommend after brass, and it’s the one that changes how the truck feels to drive more than any other single part.
What’s Wrong With the Stock Servo
The SCX24 ships with a plastic-geared micro servo rated somewhere around 1.5-2kg of torque. That sounds fine until you realize that crawling puts constant side-load on the steering: rocks pushing the front tires, weight transfer on climbs, the servo fighting to hold angle against terrain that’s actively trying to change it.
Plastic gears strip under that kind of repeated load. The low torque rating means the servo loses ground when anything fights it. And the response speed on the stock unit is slow enough that on technical terrain, by the time the servo finishes moving, the moment has passed.
The failure mode is gradual. First the steering feels a bit loose. Then you notice the wheels drift off the line you set on a ledge. Then one day you try to navigate a tight spot and the servo just can’t hold the wheel against a rock edge. That’s when most people finally swap it.
Better to do it before the strip.
What to Look for in a Replacement
Three things actually matter for an SCX24 servo upgrade.
Torque. You want something in the 4-5kg range for trail use. That’s roughly double the stock rating. The difference between 1.5kg and 4.5kg is not subtle on rocky terrain; the wheels hold angle, recover faster when deflected, and give you better control over where the truck goes.
Metal gears. This is non-negotiable if you’re running any kind of technical terrain. Metal gears survive the strip-inducing moments that destroy plastic gears. The price difference between plastic-gear and metal-gear servos at this size is usually $5-10. Worth every dollar.
Physical fit. The SCX24 servo tray fits a specific size. The standard micro servo footprint works, but confirm dimensions before ordering. The safe choices listed below are confirmed fits; no modification required.
Waterproofing is a bonus. Not strictly required, but if you’re running wet trails or damp ground, a servo with an IP55 or IP67 rating will last longer. Trail conditions get wet. Dew, mud, and puddles are not uncommon on a typical outdoor session.
The Options Worth Considering
There are a lot of micro servos on the market. Most of them are generic and only some of those generic ones actually fit the SCX24 without hassle. These are the ones I’ve seen recommended consistently and that drop in without drama.
Injora 4.5kg Digital Servo
The Injora 4.5kg metal gear servo is the most popular SCX24 servo upgrade for a reason. It’s affordable (usually $15-20), fits the stock servo tray without modification, comes with metal gears, and the torque improvement over stock is immediately obvious. The response speed is also noticeably better.
If you want one recommendation and you’re not trying to overthink it, this is the one to get. It works, it fits, it lasts longer than the stock servo, and it won’t break the budget.
AGFRC A09BCLM
The AGFRC A09BCLM is a step up in quality. It comes in around $20-28 depending on where you buy it, and it offers higher precision, better centering, and a tighter feel through the range of motion. If you’re running brass and want everything to feel dialed in, this is a worthy upgrade over the Injora.
The AGFRC also runs slightly cooler under sustained load, which matters if you’re doing long sessions on warm days. It’s not a necessary distinction for casual trail runners, but it’s a real difference if you push the rig hard.
Savox SH-0255MG
The Savox SH-0255MG is the older reliable option that’s been running in micro crawlers for years. It fits, it’s metal-geared, and it’s available from more retailers than the Chinese-brand options. At $20-25, it’s in the same range as the competition and performs well. Savox has a longer track record than some of the newer brands, which matters if you want predictability.
This one is worth considering if you prefer a more established brand name, or if the Injora or AGFRC are out of stock when you’re shopping.
How to Swap the Servo
The installation is straightforward. Plan for about 15 minutes the first time. You’ll need a 1.5mm hex driver, a 2mm hex driver, and a small Phillips screwdriver.
Remove the body. Pull the four body pins and set the body aside. This gives you full access to the front of the chassis.
Disconnect the stock servo. Unplug the servo wire from the receiver. It’s the steering channel, usually labeled ST or CH1. Take a photo of how it’s connected if you’re uncertain; you’ll plug the new servo into the same spot.
Remove the steering linkage. The rod connecting the servo horn to the steering knuckle attaches at both ends. Disconnect it at the servo horn end. You can leave the knuckle end attached; no need to disturb the front steering geometry.
Remove the stock servo. Two small screws hold the servo into the tray. Unscrew them, lift out the servo, and use a small Phillips driver to remove the horn from the output shaft.
Install the new servo. Drop it into the tray in the same orientation. Thread in the mounting screws. Snug is enough; don’t crank them down hard on the plastic tray.
Attach the horn and reconnect the linkage. Install the servo horn on the new servo with the wheels pointing straight. Reconnect the steering linkage. Plug the new servo into the receiver.
Center and test. Power on the truck with the transmitter on. Check that the wheels point straight with the steering stick centered. If they’re off, use the steering trim dial on the transmitter to center them. Then move the stick through full left and right travel; verify the wheels move freely through the full range without binding against anything.
That’s the whole job. Once it’s done, you’ll feel the difference within the first few minutes of driving.
Setting Center After the Swap
One thing that catches beginners: the new servo won’t automatically know where “center” is. Before installing the horn, power on the truck so the servo moves to its neutral position. With the transmitter stick centered, install the horn on the output shaft in that position. This gives you the widest trim range and usually means little or no trim adjustment is needed.
If you installed the horn without doing this and the trim is maxed in one direction, just redo the horn position with the servo powered and centered. Five-minute fix.
Is This Worth Doing Before Brass?
Brass first, servo second. That’s still the recommended order.
Brass gives you the biggest performance gain per dollar and doesn’t require any teardown. The servo swap is more involved (15 minutes, a few screws) and costs a bit more. If you haven’t done brass yet and you’re looking at what to tackle next, the brass upgrade guide explains what it does and which pieces to start with.
If you’ve already done brass and you’re noticing the steering feels like the weak link (wheels walking on steep terrain, loose feel under load, servo struggling on off-camber sections), then the servo swap is your next move. The two upgrades together produce a rig that’s noticeably more capable than stock on real terrain.
What to Buy
Short list:
- Best value: Injora 4.5kg metal gear servo: drop-in fit, metal gears, strong torque improvement, around $15-20
- Step-up option: AGFRC A09BCLM: tighter feel, better centering, around $20-28
- Established brand: Savox SH-0255MG: proven track record, widely available, around $20-25
You’ll need a 1.5mm and 2mm hex driver for the install. If you don’t already have those in your kit, the essential tools guide covers the full setup.
Once the servo is sorted, cleaning and maintenance is the habit that keeps everything running (including that new servo) for the long haul.
See also: Your First 5 Crawler Upgrades · SCX24 Brass Upgrade · Best SCX24 Upgrades · SCX24 Beginner Mods · Essential Tools · Field Repair Basics · The Brushless Question
This page contains affiliate links. If you purchase through these links, I may earn a small commission at no additional cost to you. I only recommend gear I actually use.
Ready to buy?
See my curated gear picks for this platform and others — organized by upgrade priority.
Browse Recommended Gear →